One of the things we’ve had to deal with during this pandemic and social distancing era is the aspect of beauty. Nails especially. A lot of us are used to going to the salon to get our nails done, but times have changed. Things have changed and we’ve got no choice than to adapt with it. We’ve been urged to stay at home and avoid unnecessary contact with anyone. And that includes your nail technician.
If you’re a YouTuber like me or you work from home talking to your clients on video calls, and still want to keep up the “slaying” spirit, you must be wondering, “How then can we get our nails done during this pandemic and still look good as usual?”
Majority of us are not even aware that you can actually do your nails by yourself. Are you aware? If you are, good for you. If you’re not, then you, my friend are in luck! Not to worry, Mimie is here to save the day.
I have decided to take it upon myself to share with you how I do my nails myself using press-on nails of course. I mean, what are friends for? *chuckles*
I’ll be describing in details how I do my nails and the best part of it is, you can get your nails done under 10 minutes! Amazing, right?
So here goes…….
Step One: Get Your Press-On Nails
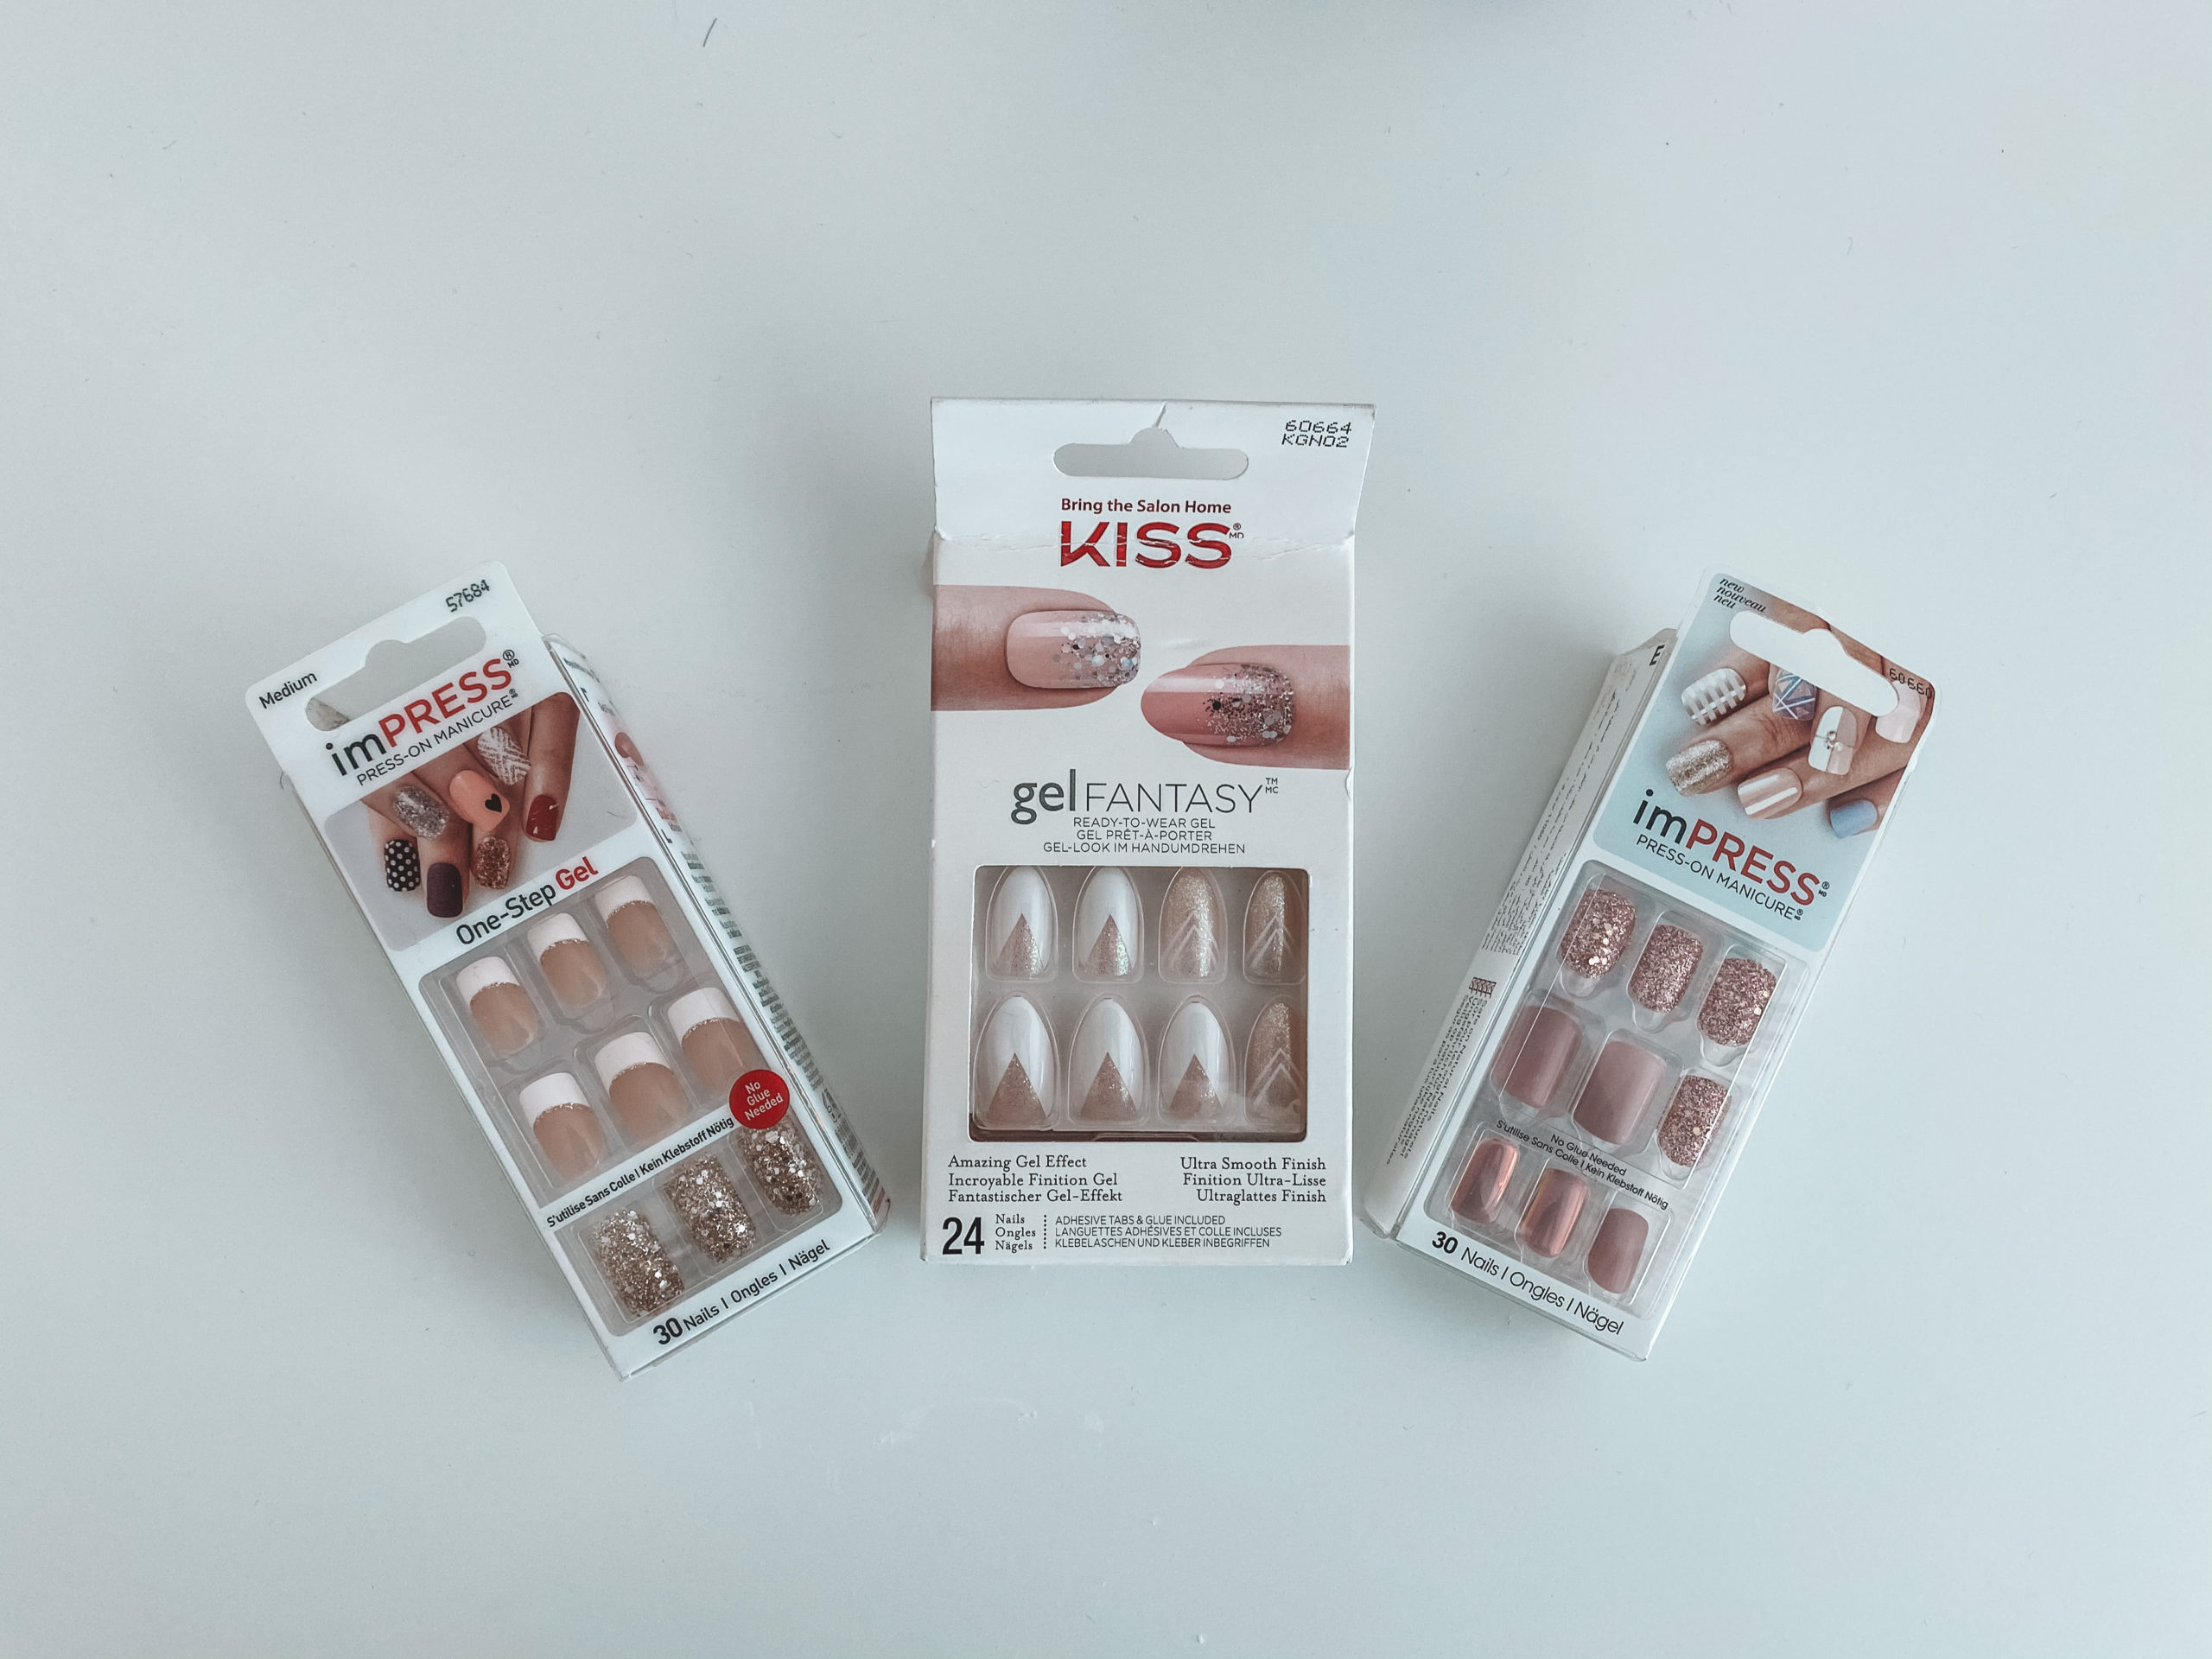
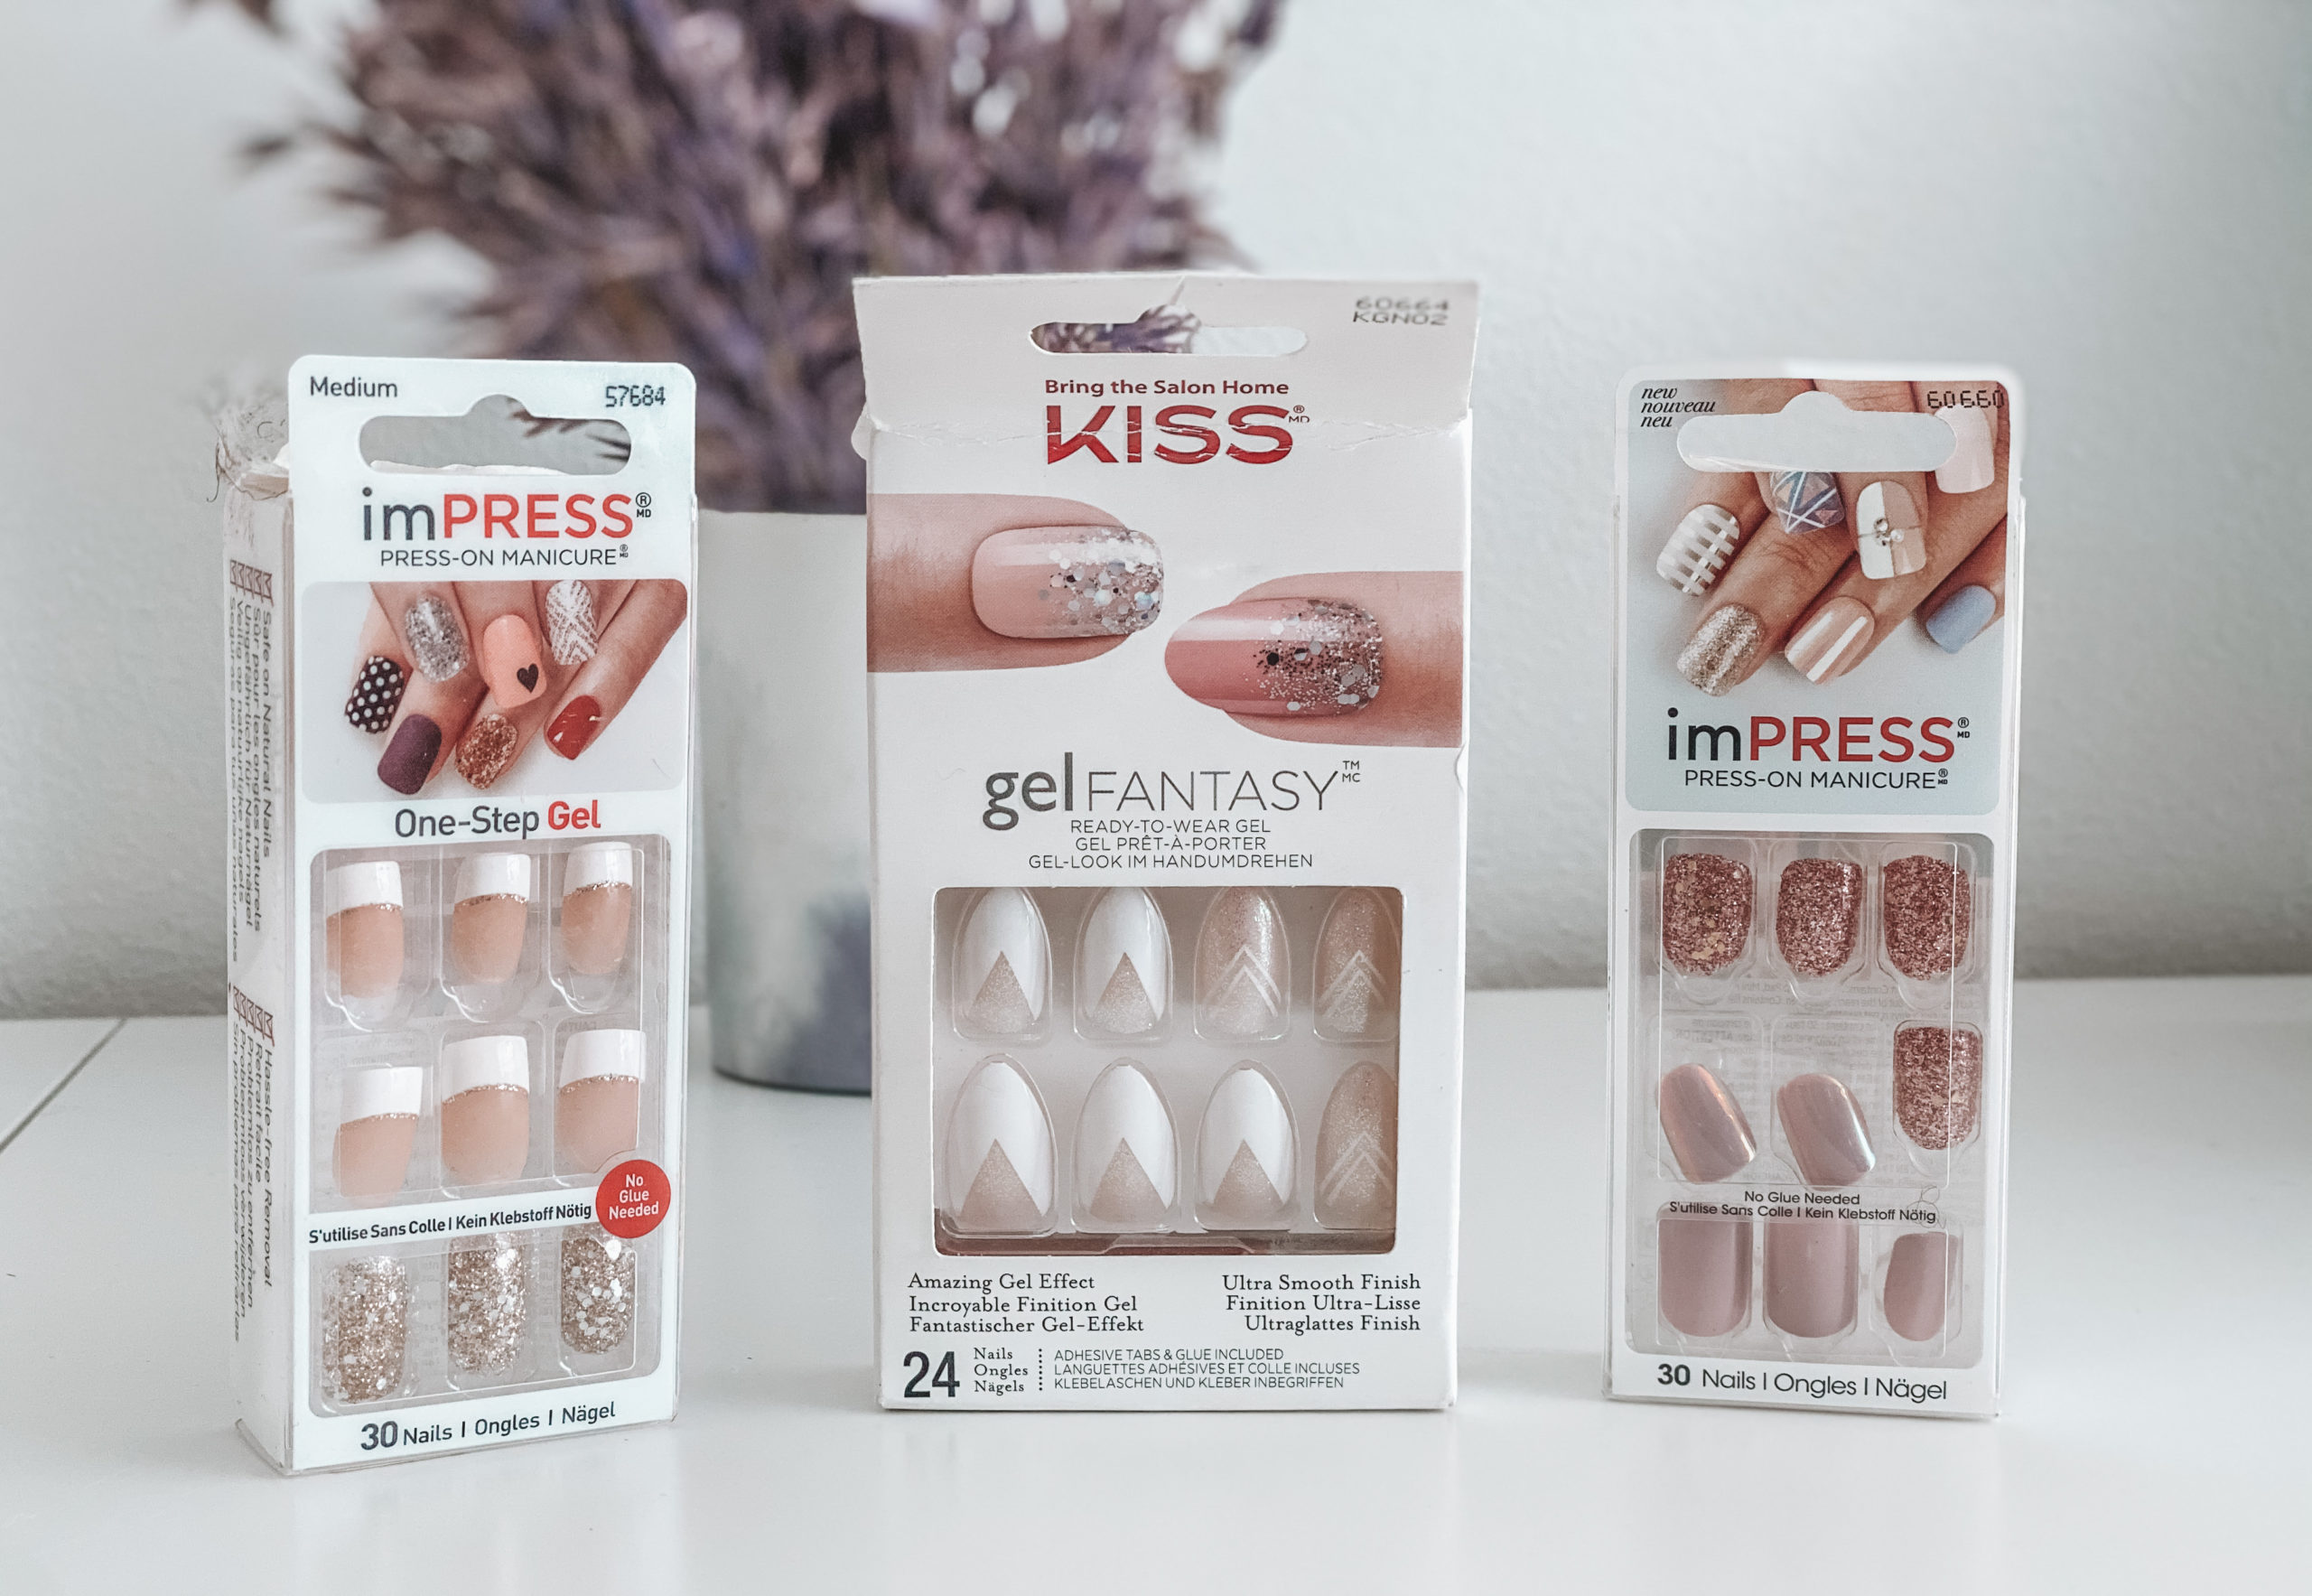
The first thing to do apparently is to get your press-on nails ready. I usually make use of imPRESS press-on manicure. This is a brand that I use a lot and I definitely love it. I mean, why would I even recommend it to you guys if it’s not GOOD. You can purchase them at any drugstore or you can order online and get it delivered to you. Very convenient! Also, did I forget to mention that they are inexpensive as well? As in very cheap.
Actually, there are so many brands. Another brand I love is from KISS. But whichever one you decide to get, well… anything goes.
Step Two: Get Your Tools Ready
There are a few things you would be needing for the procedure.
-
Tweezers
Tweezers are pointy and needle-like and they are used to pick things that are too small to be picked by your fingers. To add beads or stones or anything you can stick to your nails, tweezers are your best bet for precise application.
-
Cuticle Remover
These are used to scrape away remaining bits of dry cuticle off the nail plate
-
A Nail File
It’s used to shape the edges of your nails.
-
Cotton Wool Or Cotton Pad Wipes
These, when soaked with nail polish removers, are used to remove nail polish
-
Nail Polish Remover
They are alcohol-based solvent used to clean off nail polish.
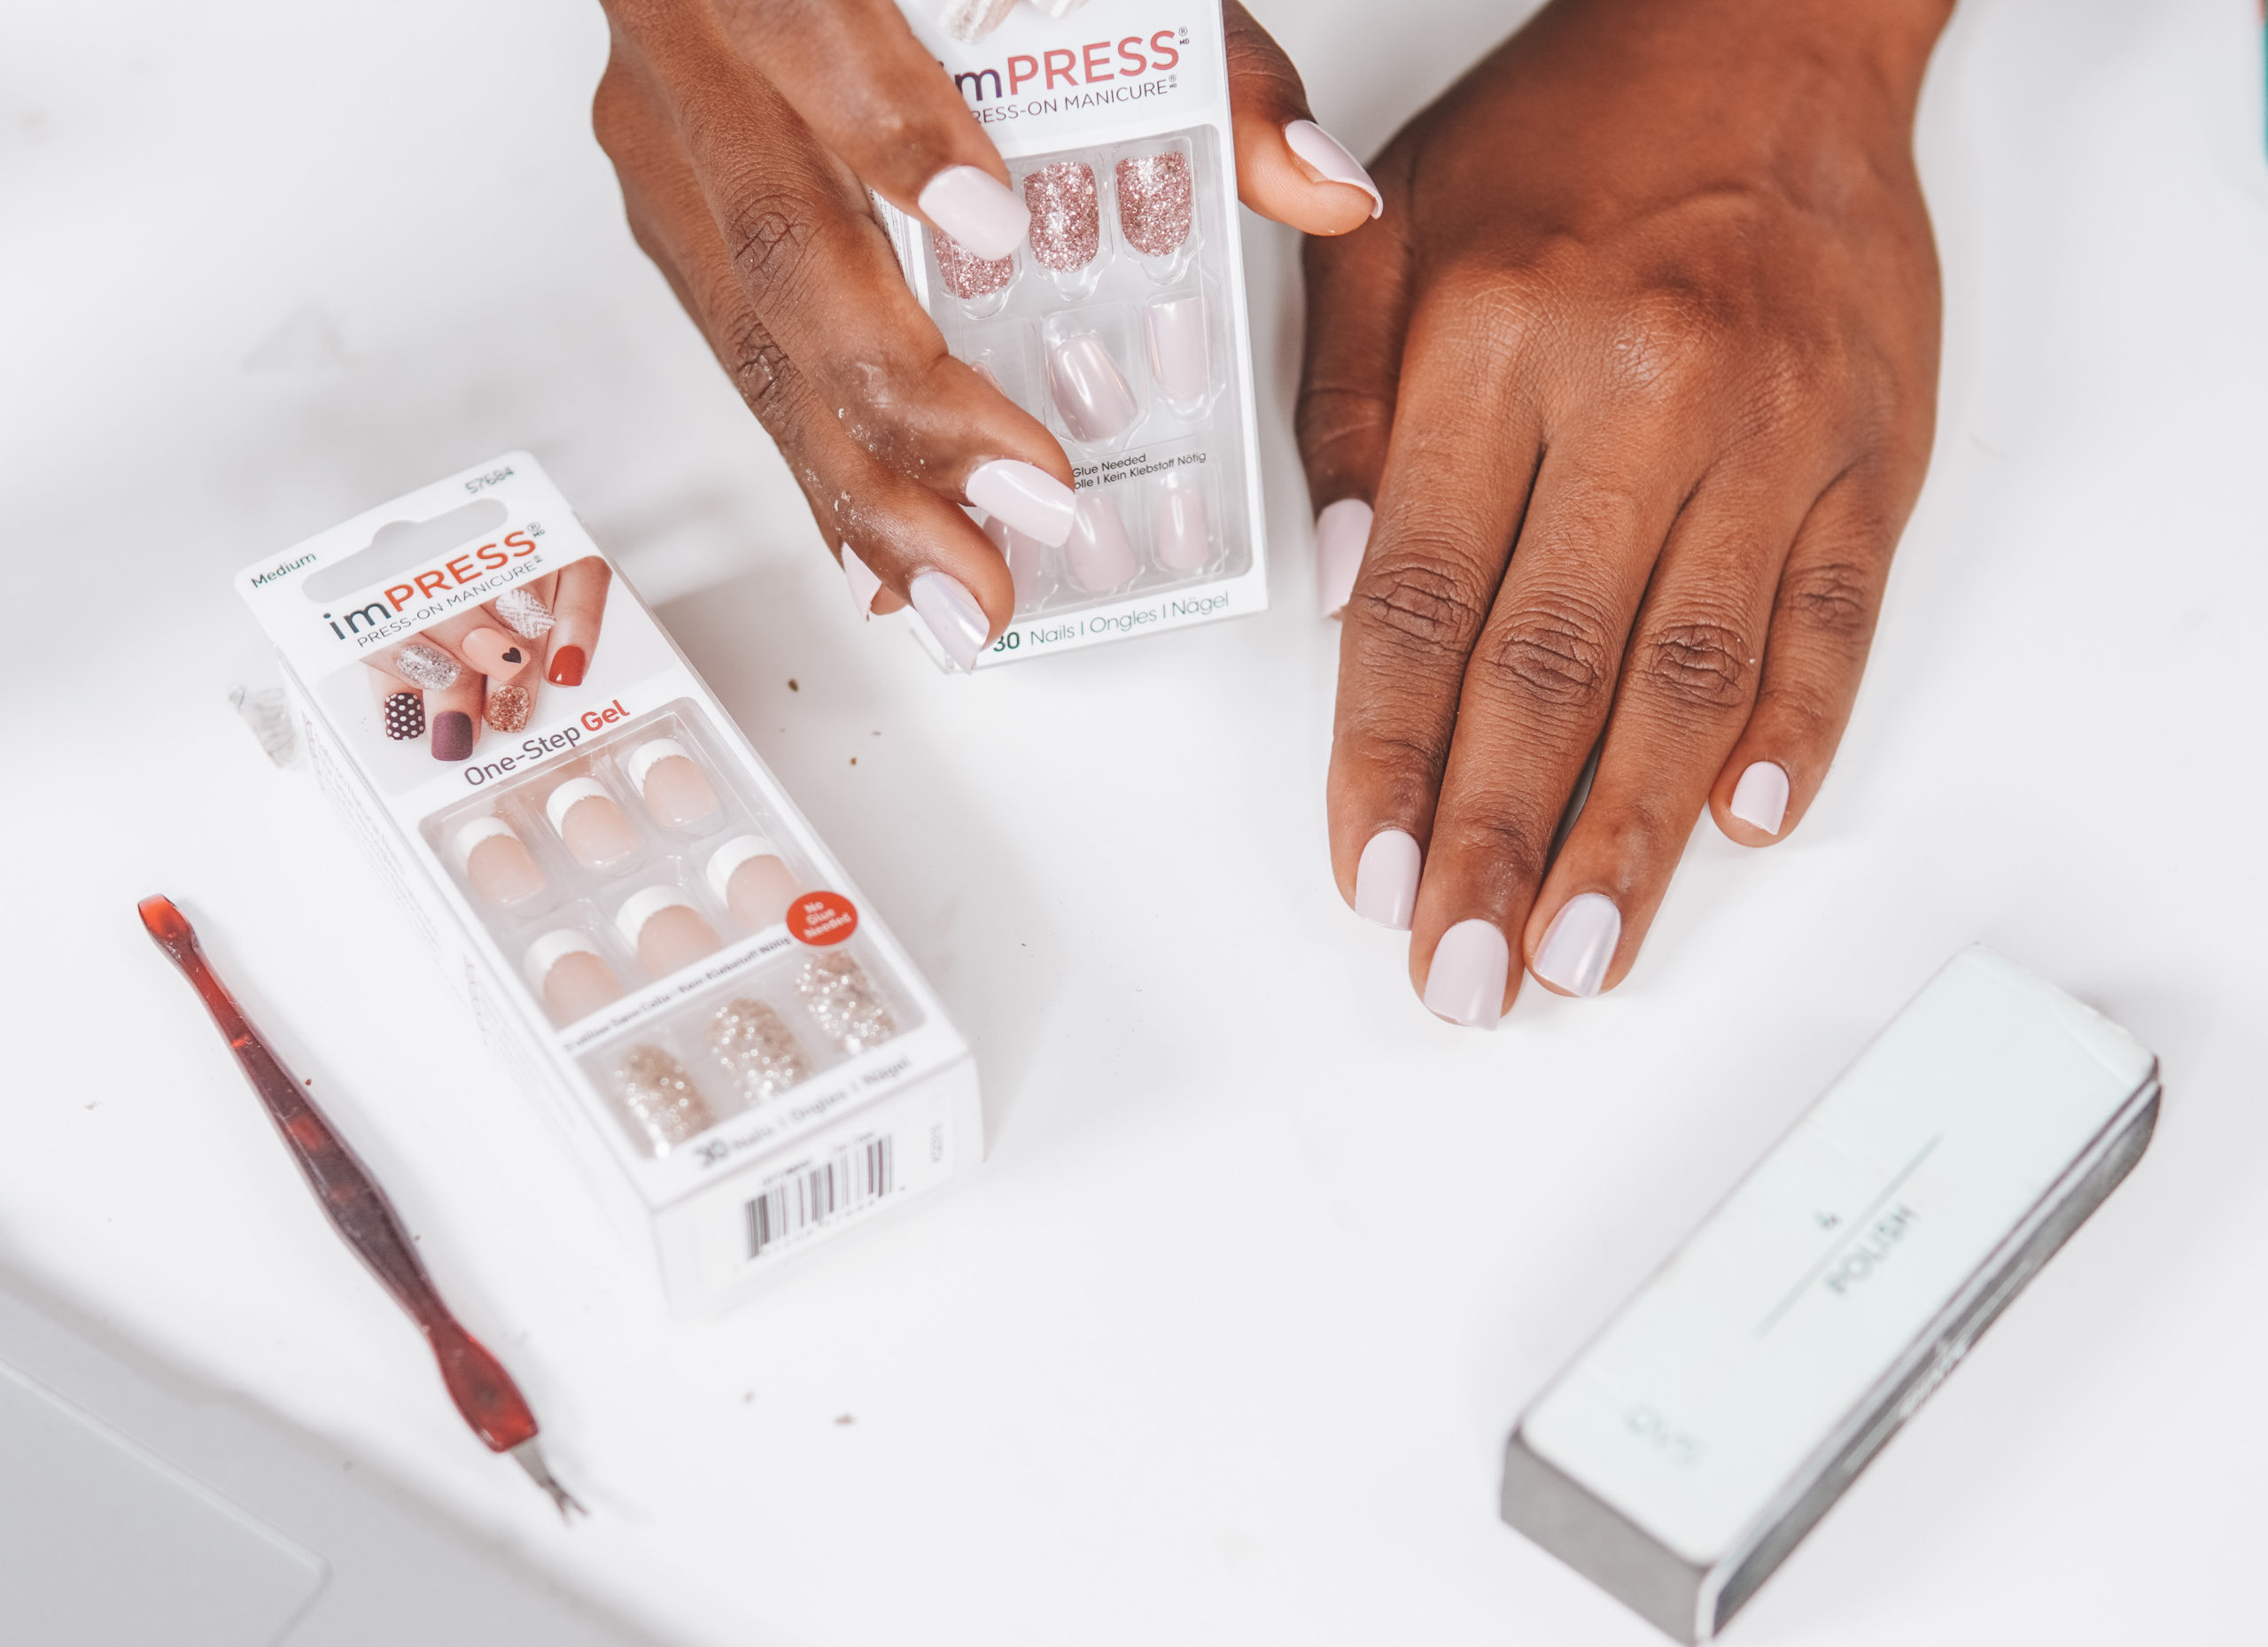
After opening your press on nails (like I said, I usually use imPRESS and it comes in 30 nails, all in different sizes), you can decide to lay them out. I usually lay them out where I can see them so I can easily pick the one I want to use.
One thing I really admire about imPRESS is that it comes with freebies that can assist you in doing your nails. I call them freebies cos they’re stuffs you would probably have to purchase yourself if you didn’t have them already. So you get freebies such as a customized nail dirt remover, a prep pad which contains alcohol already and basically does what a cotton pad and nail polish remover will do. It also comes with a mini nail file in case you don’t have any. Lastly, it comes with a manual. Now, you guys know why I can’t shut up about imPRESS.
Step Three: File your nails.
Shape them if you want. I have this nail file that has 4 sides, each side performing different functions. One side allows me to shape, the second side is for smooth edges, the third side is for buff surface and the last side is to polish.
Difference between polishing and buffing
Polishing generates a brushed or lined finish, whereas buffing removes the lines.
Step Four: Clean Your Nails
After filing your nails, dampen your nail polish remover on your cotton pad. Nail polish removers are alcohol-based so it will help to remove any sort of oil build-up on your fingernails.
Note that the press on nails remove faster when your nails are greasy or oily.
Step 5: Press The Nails On
When you pick the nails up, you will notice a layer of glue on the inside of the nails and a transparent cover on top of it. Before removing this transparent cover, you might wanna place the nails on your finger to see if they size up. For example, we want to make sure you’re not using the nails meant for the index finger for your thumb. Know what I mean?
After carefully selecting the perfect nail for each finger, you can then go ahead to remove the transparent cover and place the press on nails on your fingernails. Note that the curvy side of the press on nails goes on the cuticle side of your nails.
Now, if you want to have them on for a long time, say 2 or 3 weeks, you can apply a layer or two of nail glue first but personally, I just use them directly because I don’t keep them on for long.
After placing the nails on your finger, you have to press it, hence the name “press on”. Keep pressing to make sure it sits very well on your nails.
You can decide to shape the nails to anything you desire but do not forget to keep on pressing till it’s very firm on your nails.
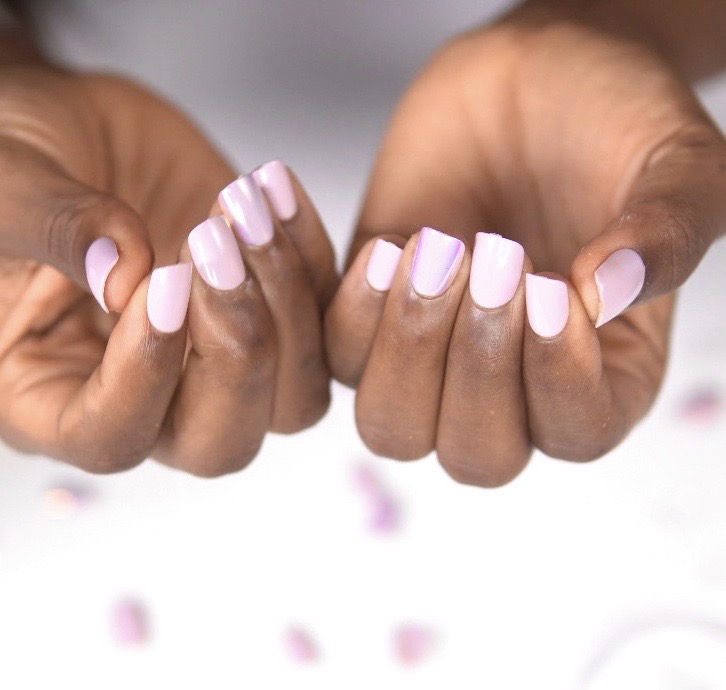
And…. That’s it! That’s how you do your nails in your house, by yourself.
Now all you have to do is slay on sis! I hope you guys enjoyed the tutorial.
Did you find this blog post helpful?
Go ahead and try it and tell me what you think. Don’t forget to send me a picture or tag me when you do.
Xoxo,
Mimie Jay.