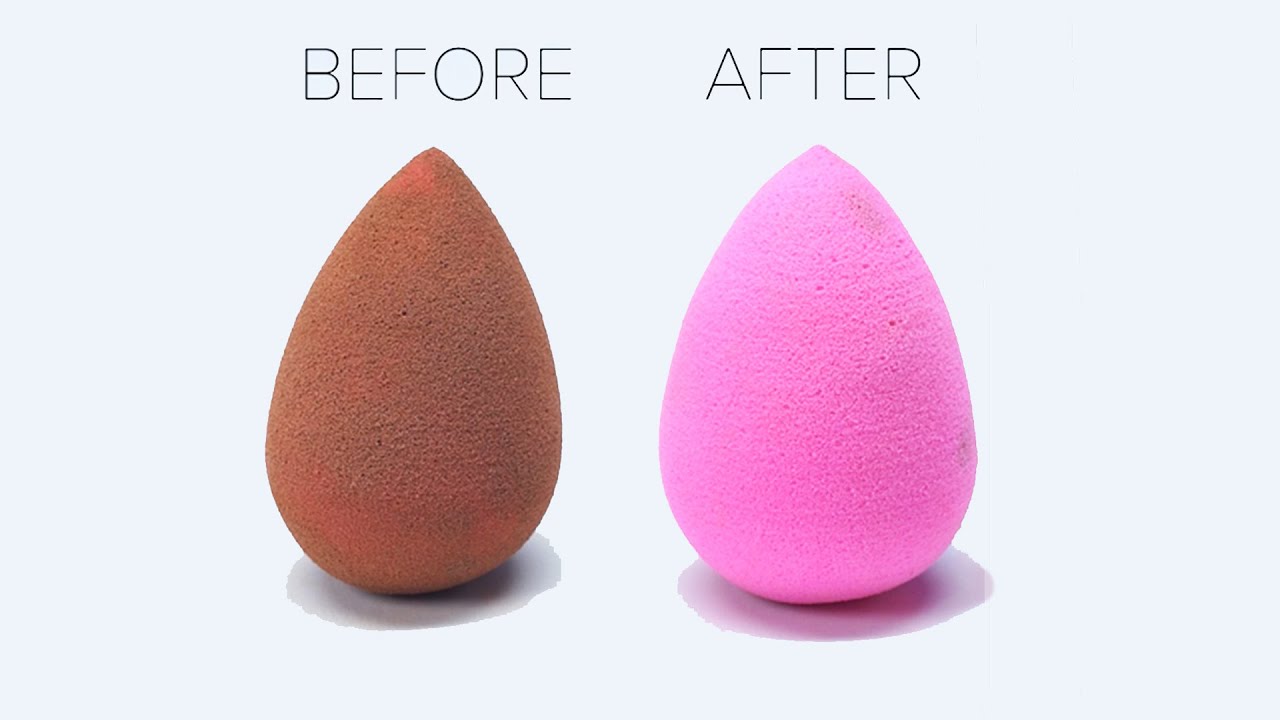
If you’re anything like the regular person, the question ’When was the last time you cleaned your beauty blender?’ might come as not only a shocker but an embarrassment too.
Funnily enough, it might be something you think about but never really get around to do it like that assignment that you keep postponing until it’s the day of the deadline and you have to just scurry around to do it. Well, for you in this case, the deadline for cleaning your beauty blender is the day you have another makeup session. lol
Why You Should Clean Your Beauty Blender
Asides the obvious embarrassment that comes with putting the dirty beauty blender out in public, you also need to clean your beauty blender for hygiene purposes. The makeup on used beauty blender makes a great home for tons of germs that normally wouldn’t be on a clean beauty blender.
Taking the germ-infested blender and then putting it on your face or someone else’s? Come on! Also, imagine trying to put on a lighter shade of product on a beauty blender that’s still covered in dark share of a product.
Not only will the shades mess with each other, but the fact that there’s a layer between the dirty blender and actual product you want to apply can also cause the beauty blender to not work as well.
If you’re among the category of people who prefer using a beauty sponge over makeup brushes, it’s important that you know how to clean and take care of your beauty blenders.
Thankfully, getting your beauty blender to look good as new isn’t all that hard and there’s more than one way to go about it. Let’s take a look at the various ways to clean a beauty blender.
How To Clean A Beauty Blender
1. Just Soap And Water
This is an easy technique and most likely a go-to for most people. Typically, you could use regular bar soap or mild shampoo at home or go a step above by using the Original beauty blender cleanser which comes in solid or liquid
For solid soap/cleanser, all you need to do is take the beauty blender or beauty sponge – which must be completely wet then rub it directly against the soap until lather starts to appear.
Do this for every side and when the later start to change colour, that is, makeup starts coming off, rinse the beauty blender thoroughly while squeezing gently.
Give it a final squeeze after you stop the water running to ensure you get all the extra water out. This method is actually gentle, hence you can do it after every use – another reason it is most likely a go-to for most people.
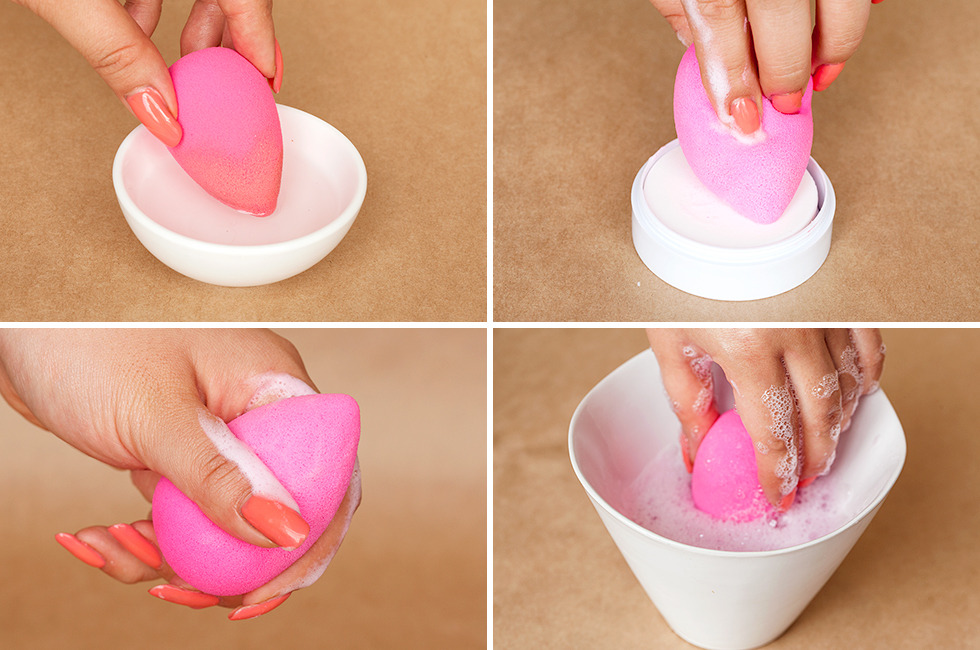
If you’d prefer the liquid soap, it’s not such a deviation from the solid soap it’s just that this time, you’ll be the one massaging the beauty blender.
Get the beauty blender completely wet and squirt some soap on it. Massage until the lather it gives out gets coloured.
In a situation where the blender is very dirty, you might want to soak it in a cup of water and put some soap in. Leave the blender in for a minute or two and then you take it out, massage the beauty blender with a little more cleanser before finally rinsing.
This is the method I prefer to use to wash my Real Techniques Miracle Sponge, Nuban Beauty sponge and beauty sponges from other makeup brands I love
2. Using A Beauty Blender Rubber Cleaner

This is also a fast way to get a clean beauty blender. You could use your hands but an easier way is to use a beauty blender rubber cleaner.
A makeup brush cleaning mat can work too, but check to be sure the surface isn’t too harsh to avoid damaging your beauty sponge.
The rubbery bumps on the mat aid loosening the dirt and caked product on the beauty blender. To do this, take the beauty blender, ensure it is completely wet, then you can put on soap that you like.
Start to rub the dirty beauty blender GENTLY across the mat (or your hands; whatever the case) until you start to see the makeup appearing. You can do this under a stream of running tap.
3. Oil
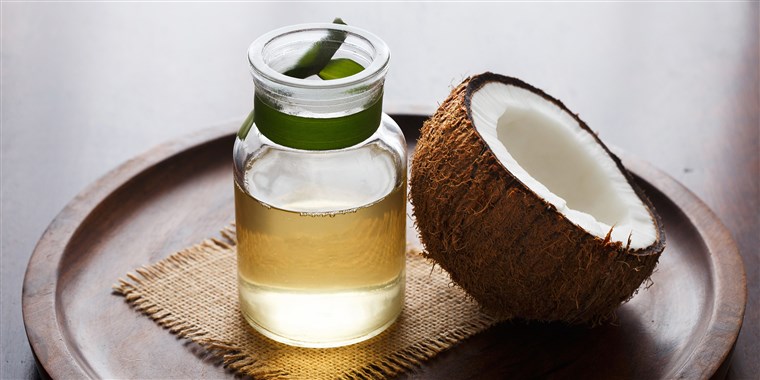
This is more of a double cleansing method.
Just like you use cleansing oil to take off the makeup from your face before actually washing it off, the same principle applies to your beauty blender.
For this method, you don’t need to wet your sponge to start. Massage a few drops of oil – preferably coconut – into the beauty blender until the makeup starts to come off for the second part of the cleansing, you could proceed to use any of the previously mentioned water and soap methods.
By doing this, you get out the rest of the makeup and the leftover oil.
4. A Microwave
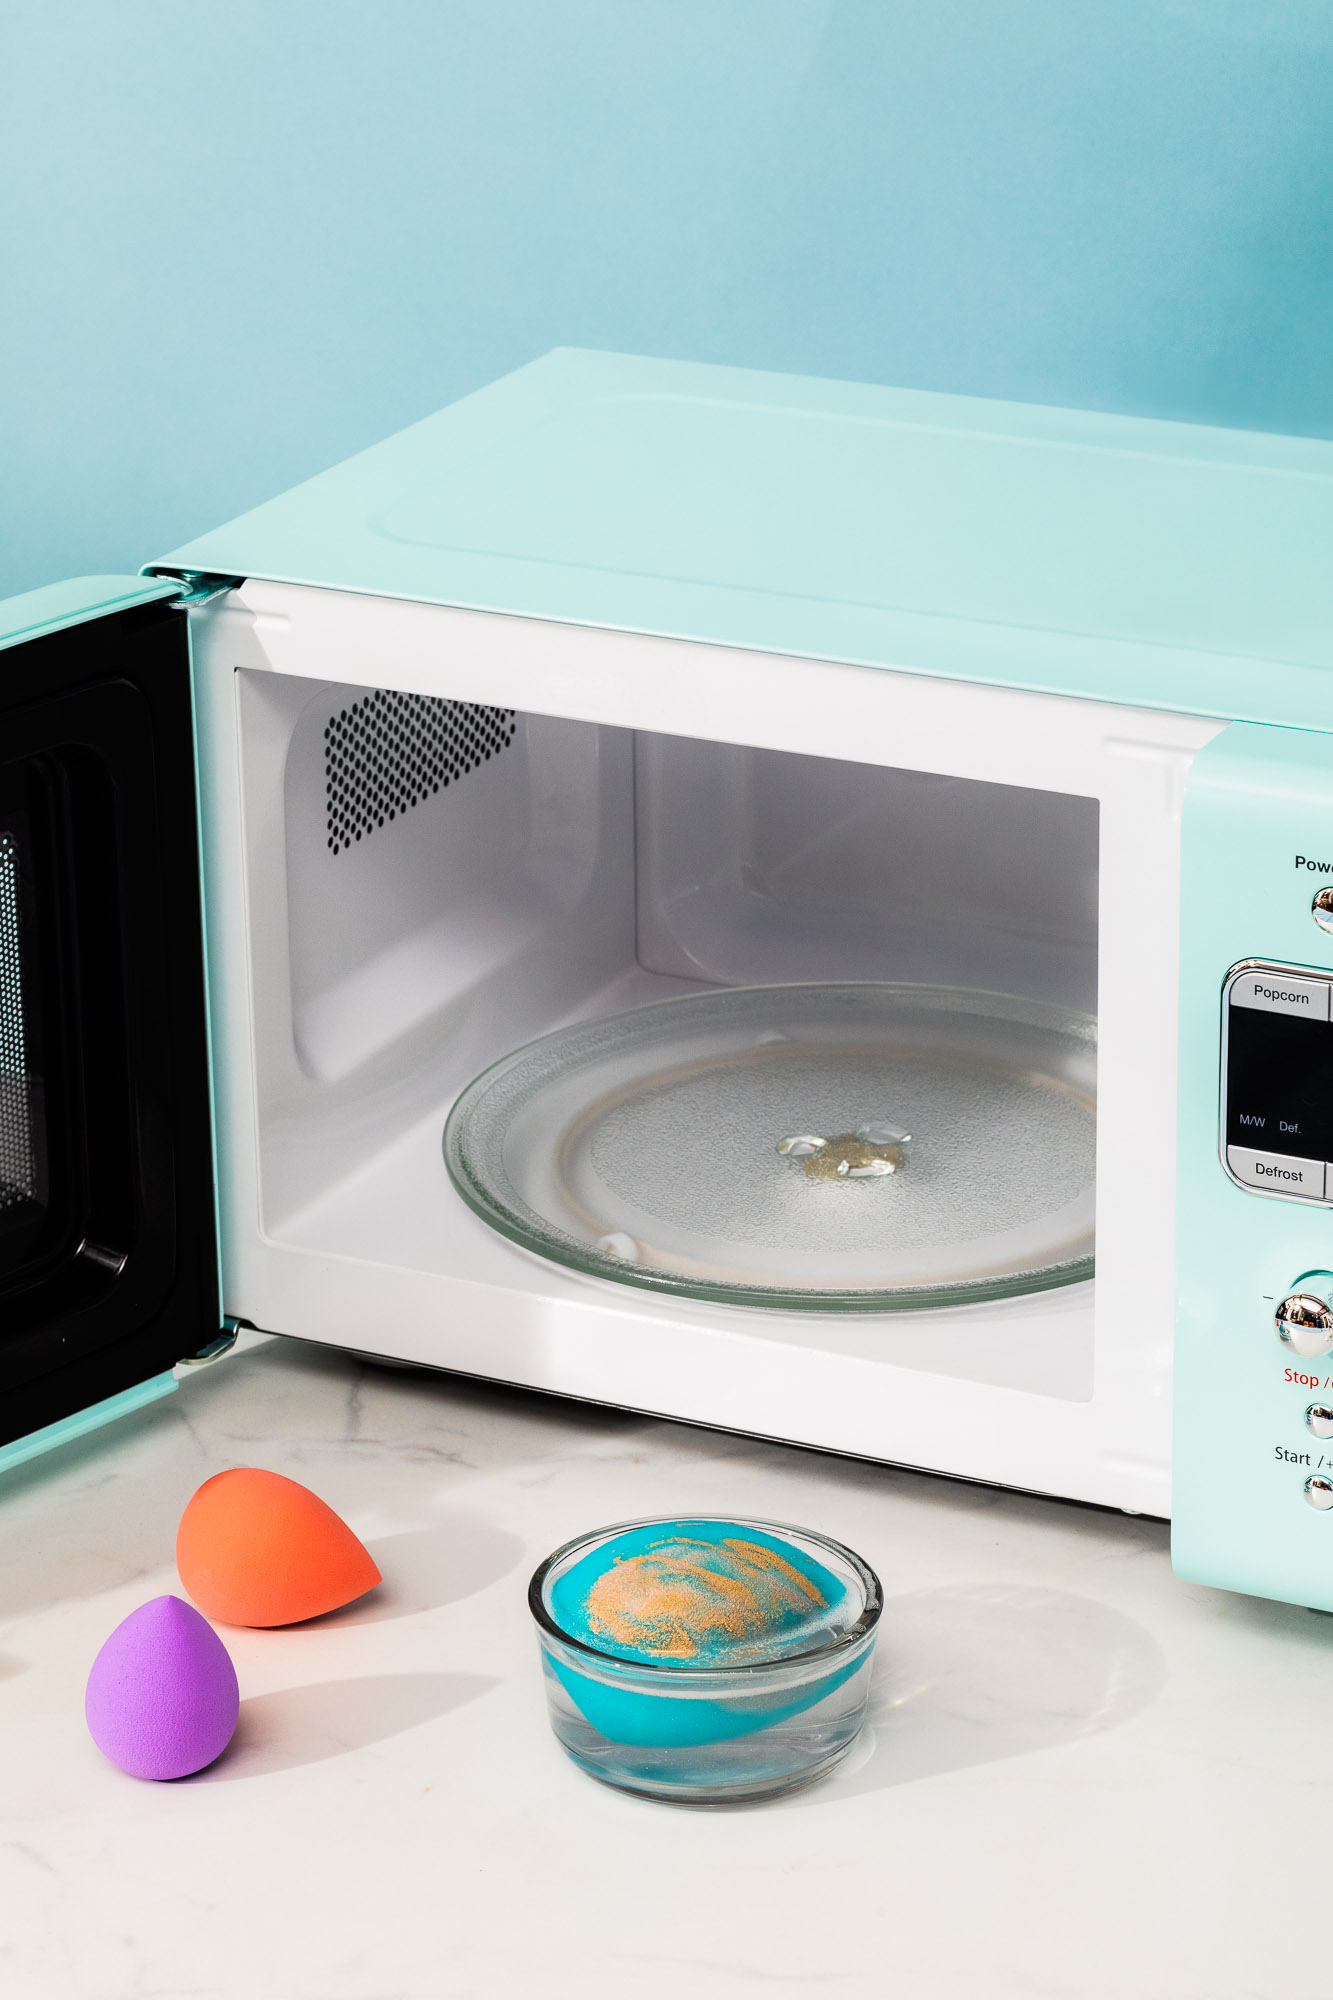
Yup, read it right! The thing with this method, however, is that you have to strictly follow the steps, else, you could ruin -and I mean melt – your beauty blender or even burn your hands in the process. If done well, this process cleans beauty blender like magic.
The drill is to first, get a cup (one that’s microwavable) and fill it up with very soapy water. Put the beauty blender -which should be wet as well – in and ensure it is very immersed in the water.
Put the cup in the microwave and heat for a minute. When the timer’s done, don’t take out the cup immediately unless you want 1st-degree burns.
Let it cool for about 5 minutes and then you can take it out of the microwave. Take the beauty blender out of the cup and rinse with clean water.
This method is a way to deep clean your beauty blender because not only does it clean the beauty sponge, the heat from the microwave can kill bacteria inside on the beauty blender.
Easy, right? Only if you follow the steps. Remember, this method isn’t just how to clean your beauty blender, it’s more like how to SANITIZE it.
5. Using A Beauty Blender Mini Washing Machine
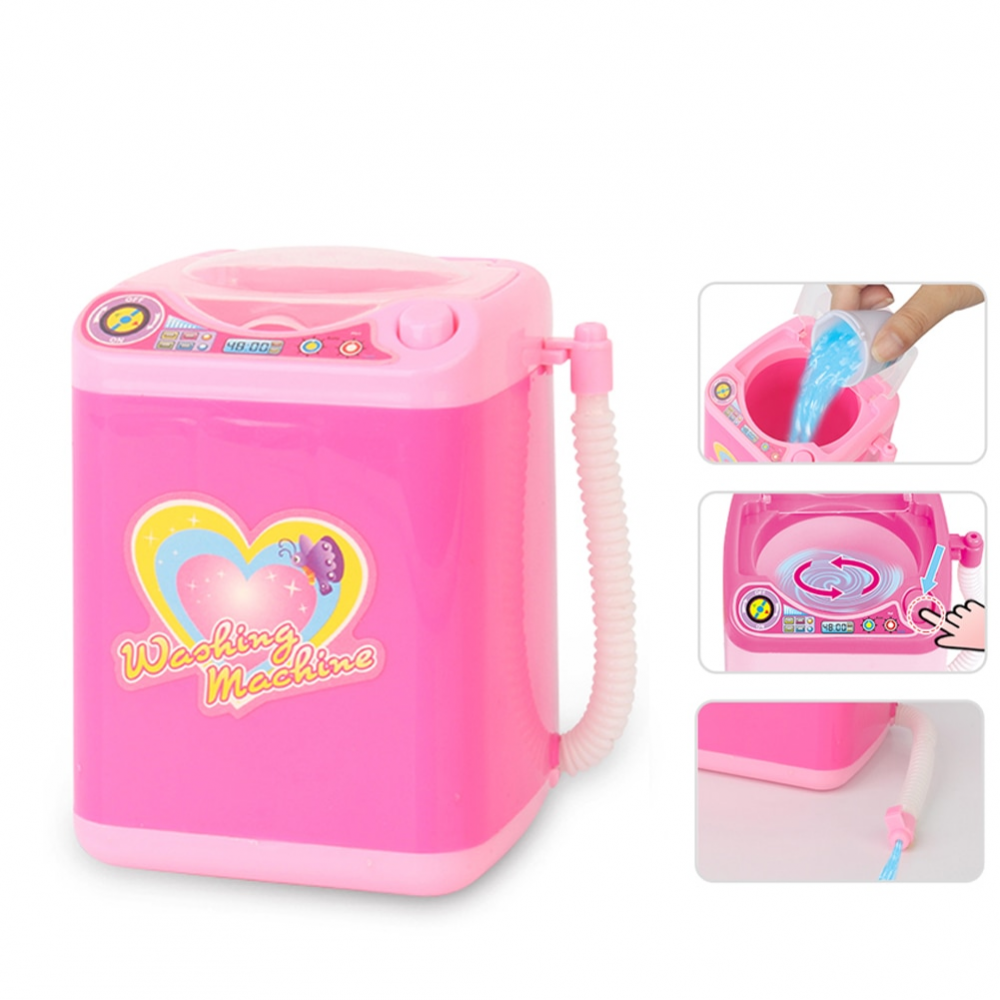
A Beauty Blogger, Tiffany Lynette Davis, brought this idea of using kid’s washing machine to clean beauty blender to the limelight. This was a trend that went really viral. Lots of people jumped on the train and got themselves this little washing machine.
This, however, works for moderately dirty beauty sponges. It doesn’t do the heavy-duty job required to clean very dirty beauty sponges like using bar soap and water would.
For any of the methods above, you want to remember that gentler is better. It’s important to clean your beauty blender regularly – after each use, if possible – but you can ruin the blender if you do it wrong so be gentle.
Also, be sure you let it dry completely before keeping it so you can avoid damp spots and another opportunity for germs to come in.
In conclusion, you also need to know when to let go of your beauty blender. It’ll get to a time that even though you’d been cleaning the blender every day, you just need to let it go.
It’s even suggested that you replace the blender after 3 months but at least, the blender will be in top form for those 3 months if you clean properly.